This article reviews how to create new Customers, manage the Customers you have, and retire Customers you are no longer delivering services to.
Customer Menu and the Customer List
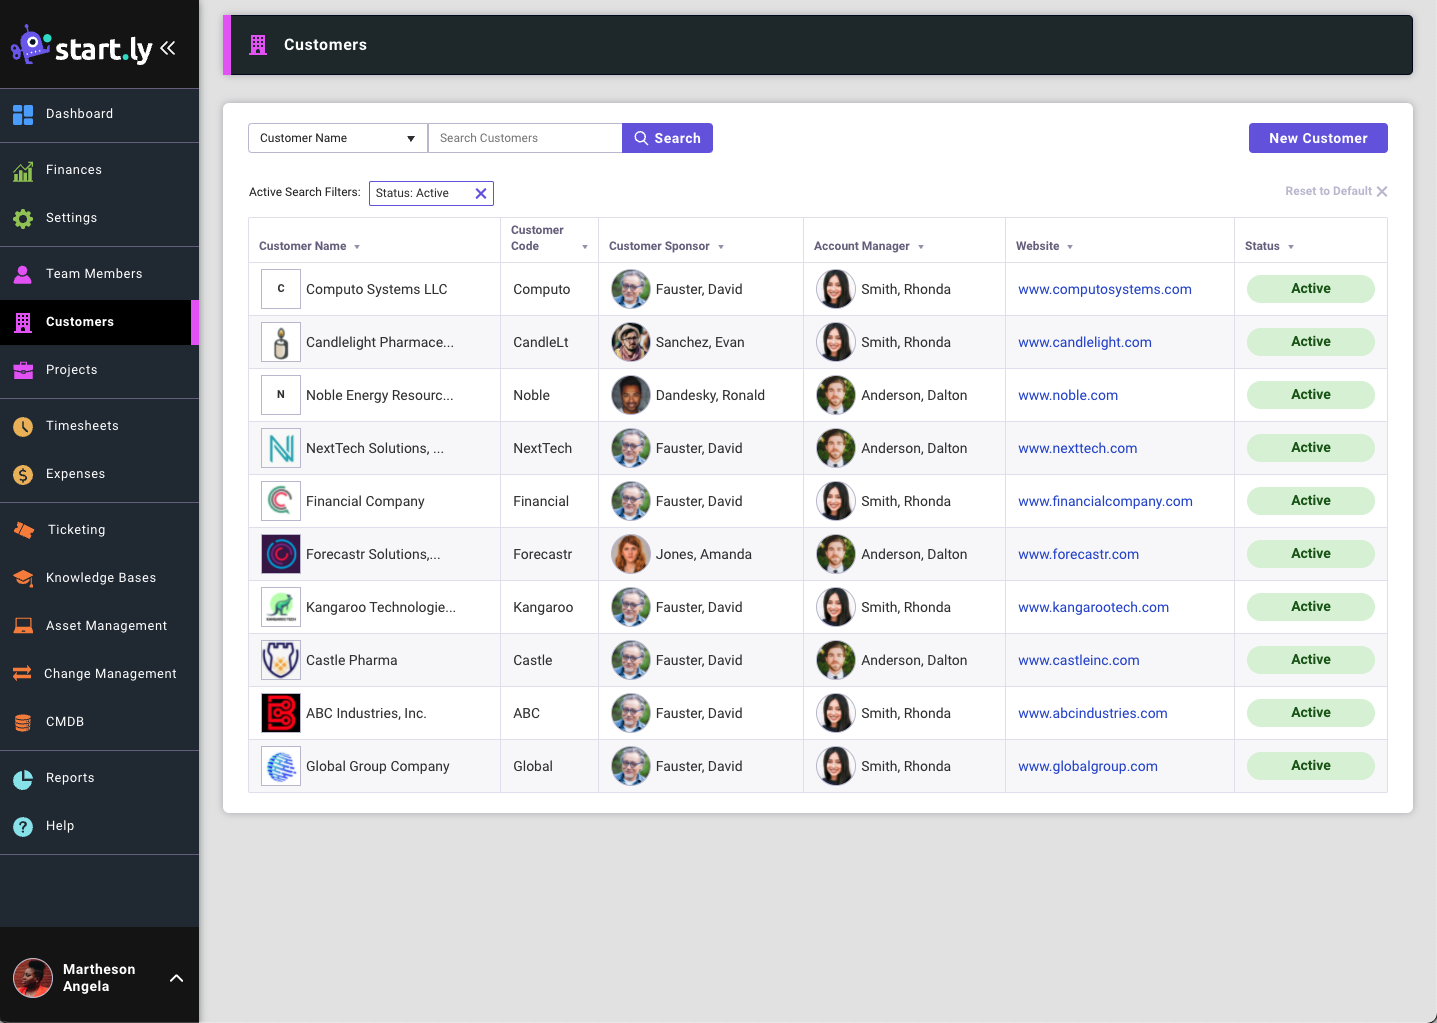
The Customer menu provides access to the Customer list. The Customer menu is only available to Administrators–all other Team Members who are not Administrators do not see the Customer menu.
From the Customer List screen, you can select a Customer to manage, search for Customers, or create a new Customer. By default, only active Customers are displayed in the list. Use the Search tool to find inactive Customers.
Creating New Customers
Creating Customers is one of the first steps in effectively using Startly. Most of the features of Startly are contained within a Project, and Projects are created for a Customer—so creating a Customer is the gateway to using all of the other features of our software!
Only an Administrator can create a New Customer.
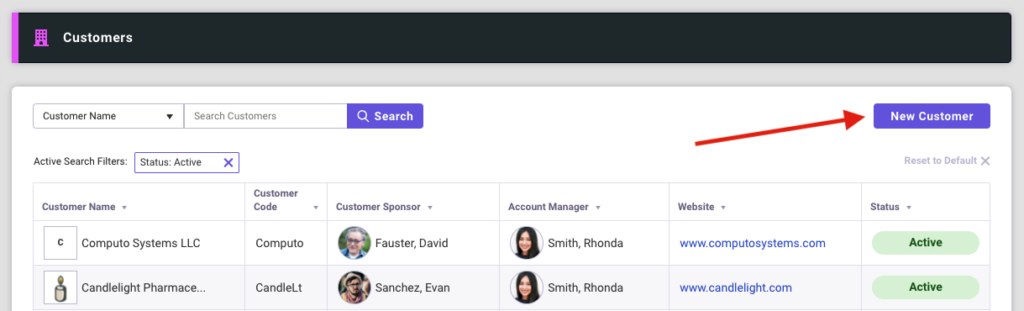
To create a New Customer:
- Customer List screen, select the New Customer button in the upper right corner.
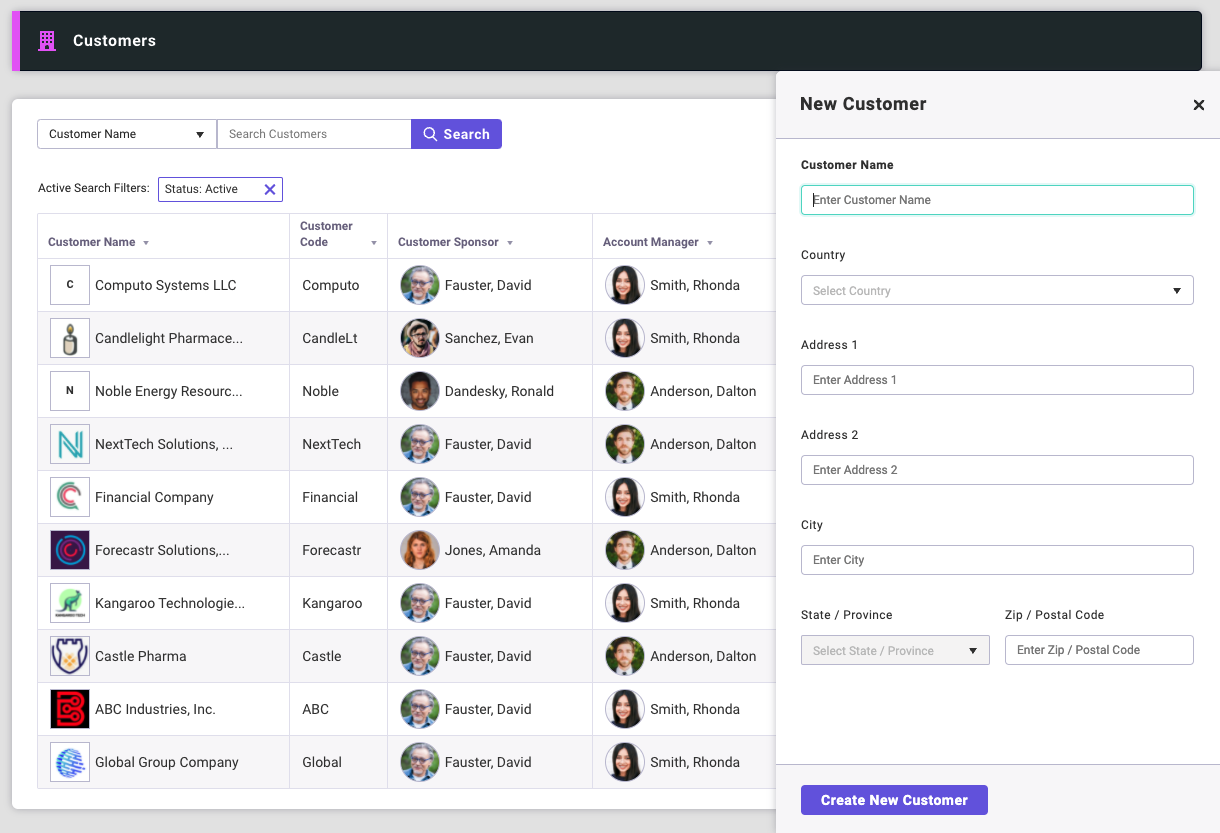
- The create New Customer form appears. The only required field is Customer Name
- When finished, select the Create button. Once created, you are taken to the Customer Profile screen.
Managing Customers
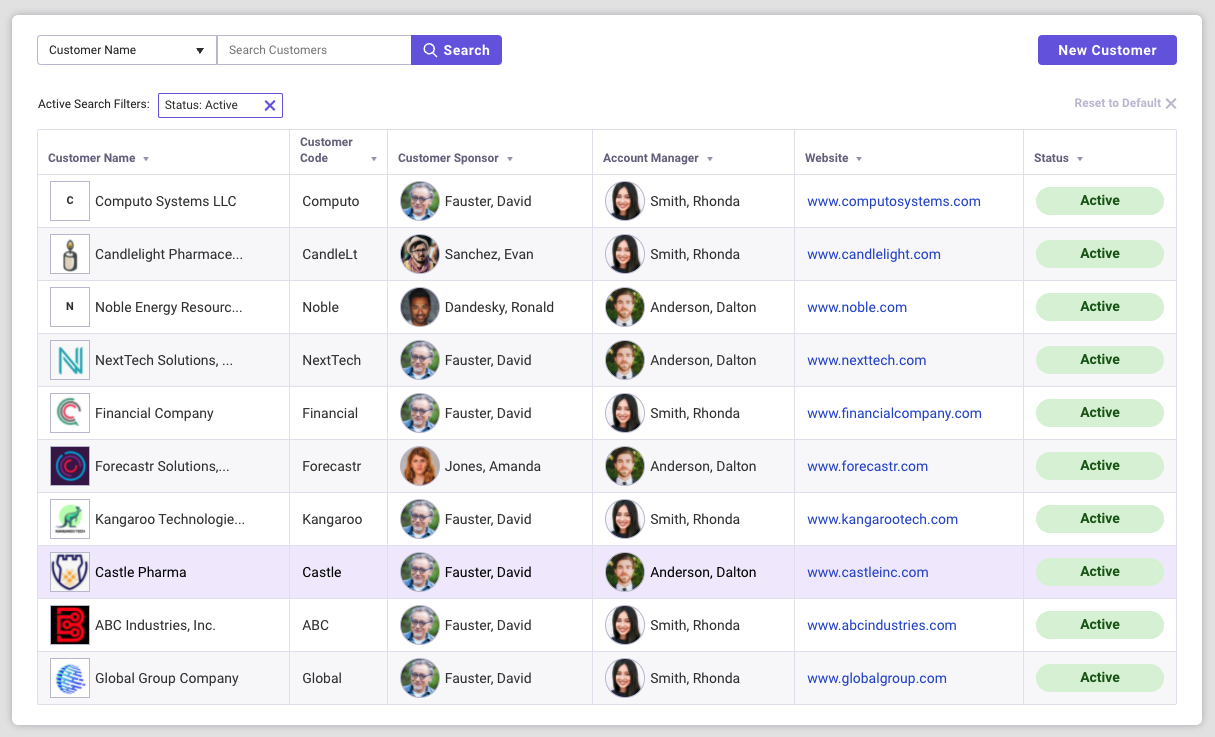
To manage the information on an existing customer, select the customer from the Customer List screen.
The selected Customer’s detail screen includes a series of cards containing the information about that customer. Specific cards are available for:
- Customer Information: general information about the customer.
- Projects: open projects with this customer.
- End Users: persons at the customer who are being supported via the Ticketing or Asset Management modules.
- Documents: used to store customer-related documents, such as contracts, Master Service Agreements, etc.
- Service Management Settings: configure at the customer level features used by Ticketing, Asset management and Change Management.
Retiring Customers
Here at Startly, we don’t delete data–we inactive your data. This is true for Customers–you can change a customer’s status to Inactive to remove the customer from the default Customer list screen, as well as to make that customer ineligible to be selected from all drop-down selection lists. To retire a customer by making them Inactive:
- Find and select the customer from the Customer List screen.
- Clicking on the customer takes you to that customer’s detail screen.
- On the Customer detail screen, the top card contains Customer Information.
- Select the Edit icon to edit this card of customer information.
EDIT ICON Look for the Edit icon to make changes to details in the card.
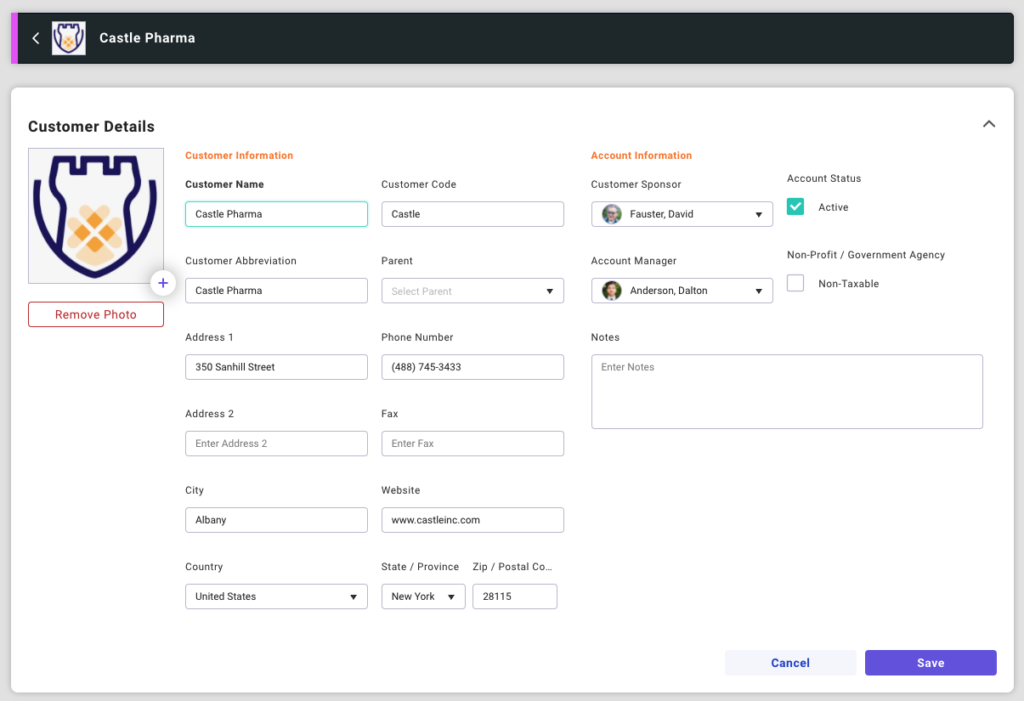
- Change the Account Status to Inactive by unchecking the Active flag.
- Save your changes.
Important Notes about retiring a customer:
- • You can re-activate a currently Inactive customer at any time by checking the Active box.
- • If you mark a customer as inactive, all existing Projects will continue to be available until being marked as completed–All projects will remain Open themselves and can accept timesheet and expense submissions, tickets, etc.
- • You are not able to create a new Project for an Inactive customer.